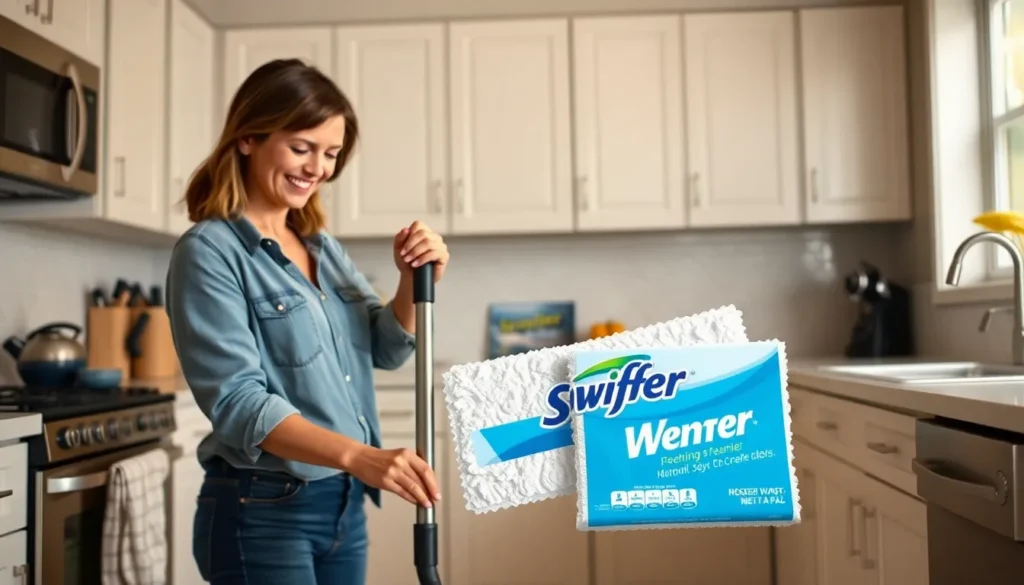

Swiffer Wet Pads have revolutionized the way people clean their floors, making it easier and more efficient than ever. With their convenient design and effective cleaning power, these pads are a go-to solution for busy households. However, many users may find themselves unsure about the best way to attach these pads to their Swiffer mops.
Understanding the correct attachment method can enhance the cleaning experience and ensure optimal performance. Whether you’re tackling sticky spills or everyday dust, knowing how to properly secure your Swiffer Wet Pads can make all the difference. This guide will walk through the simple steps to attach these pads, so you can get back to enjoying a spotless home in no time.
Overview of Swiffer Wet Pads
Swiffer Wet Pads provide a convenient solution for maintaining clean floors in busy homes. Understanding how to attach these pads correctly enhances their cleaning effectiveness and ensures optimal performance.
Importance of Proper Attachment
Proper attachment of Swiffer Wet Pads is crucial for several reasons. It ensures efficient contact with the floor surface, maximizing cleaning power. Incorrect attachment can lead to uneven cleaning, reduced dirt pickup, and potential pad slippage during use. Ensuring a secure fit allows for an effortless cleaning experience without interruptions.
Tools and Materials Needed
Attaching Swiffer Wet Pads requires minimal tools and materials. Essential items include:
- Swiffer mop: The main tool for attaching the pads.
- Swiffer Wet Pads: The cleaning pads, designed for various floor types.
- Dry cloth: For any preliminary floor cleaning or to dry the area before mopping.
Having these items ready streamlines the cleaning process and helps achieve optimal results.
Step-by-Step Guide on How to Attach Swiffer Wet Pads
Properly attaching Swiffer Wet Pads maximizes cleaning efficiency. The following steps provide a clear approach to ensure successful attachment.
Preparing Your Swiffer Mop
- Gather materials: Collect the Swiffer mop, Swiffer Wet Pads, and a dry cloth.
- Clean the mop head: Wipe the mop head with the dry cloth to remove any dust or debris.
- Inspect the mop components: Check the mop for any damage that may affect pad attachment.
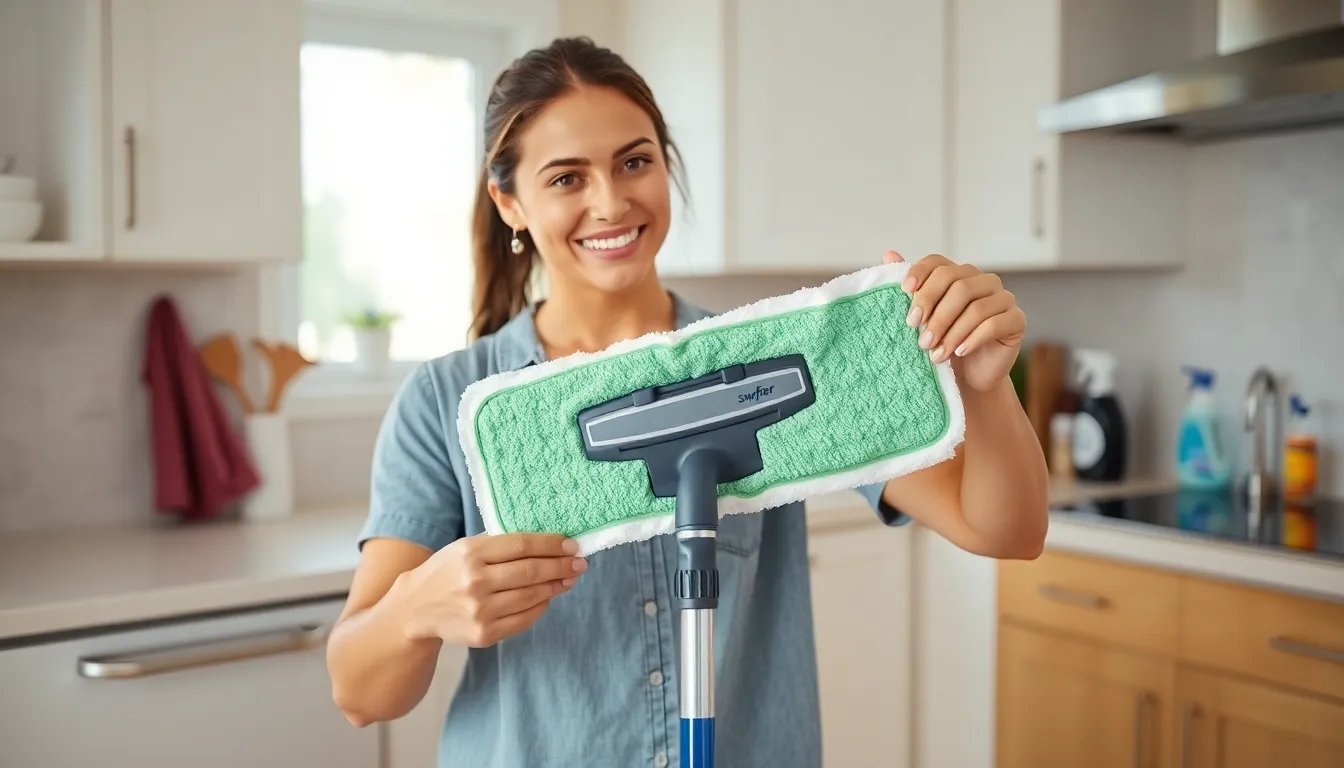
Attaching the Wet Pads
- Align the pad: Place the Swiffer Wet Pad underneath the mop head, ensuring the cleaning surface faces down.
- Secure the pad: Pull the adhesive strips on both ends of the pad over the mop head.
- Press firmly: Press down on the pad to ensure it adheres securely to the mop head.
Ensuring a Secure Fit
- Check for tightness: Gently tug on the pad’s edges to confirm a snug fit.
- Inspect the corners: Ensure all corners of the pad are firmly attached and not lifting.
- Adjust if necessary: If the pad feels loose, remove and reattach it, following the steps above for confirmation.
Tips for Effective Use
Using Swiffer Wet Pads effectively can significantly enhance cleaning results. Adhering to best practices and maintaining the mop will maximize efficiency and performance.
Best Practices for Cleaning
- Choose the Right Pad: Select a suitable Swiffer Wet Pad for your floor type. Options include multi-surface pads for hardwood or tiles.
- Prepare the Area: Remove furniture and obstacles from the cleaning space to ensure full access.
- Wet the Pad: Moisten the pad slightly for optimal dirt pickup, especially for tougher stains.
- Mop in Sections: Work in small sections, cleaning one area at a time to prevent dirt from spreading.
- Use Gentle Pressure: Apply moderate pressure while mopping for effective dirt removal without damaging surfaces.
- Change Pads Frequently: Replace pads when they become saturated or dirty to maintain cleaning efficacy.
Maintaining Your Swiffer Mop
- Clean the Mop Head: Wipe the mop head after each use to remove debris and residue.
- Check for Damage: Inspect the mop regularly for any signs of wear or damage, replacing parts as necessary.
- Store Properly: Keep the Swiffer Mop in a dry, cool place, avoiding exposure to direct sunlight and excessive moisture.
- Avoid Harsh Chemicals: Use only compatible cleaning solutions to prevent damage to the mop’s materials.
- Disinfect Regularly: Sanitize the mop handle and head periodically to maintain hygiene and effectiveness.
Common Mistakes to Avoid
Attaching Swiffer Wet Pads requires attention to detail. Several common mistakes can hinder the cleaning process and reduce efficiency.
- Ignoring Mop Head Condition
Inspecting the mop head before attachment is crucial. A dirty or damaged mop head can affect pad adhesion and cleaning performance.
- Misaligning the Pad
Ensuring proper alignment of the pad is essential. A misaligned pad can lead to uneven cleaning and potential slippage during use.
- Not Applying Enough Pressure
Pressing down firmly after securing the pad is important. Insufficient pressure can result in the pad detaching mid-use, causing frustration.
- Overlooking Pad Maintenance
Failing to change pads regularly can diminish cleaning effectiveness. Using a dirty pad reduces dirt pickup and spreads debris.
- Neglecting to Read Instructions
Overlooking the manufacturer’s instructions can lead to mistakes. Following specific guidelines ensures optimal use of Swiffer Wet Pads.
- Using Incorrect Pads for Floor Types
Choosing the wrong pads for specific floor types can be counterproductive. It’s essential to select pads designed for the particular surface being cleaned.
By avoiding these mistakes, users can maximize the effectiveness of Swiffer Wet Pads, ensuring a thorough and efficient cleaning experience.
Attaching Swiffer Wet Pads correctly is essential for achieving optimal cleaning results. By following the outlined steps and tips, users can ensure their mop is ready to tackle dirt and grime effectively. A secure fit not only enhances cleaning performance but also prevents common issues like slippage or uneven cleaning.
Maintaining the Swiffer mop and using the right pads for specific floor types will further improve the cleaning experience. With these strategies in place, busy households can enjoy a spotless home with minimal effort. Embracing these practices will make floor cleaning a breeze, allowing for more time to focus on what truly matters.